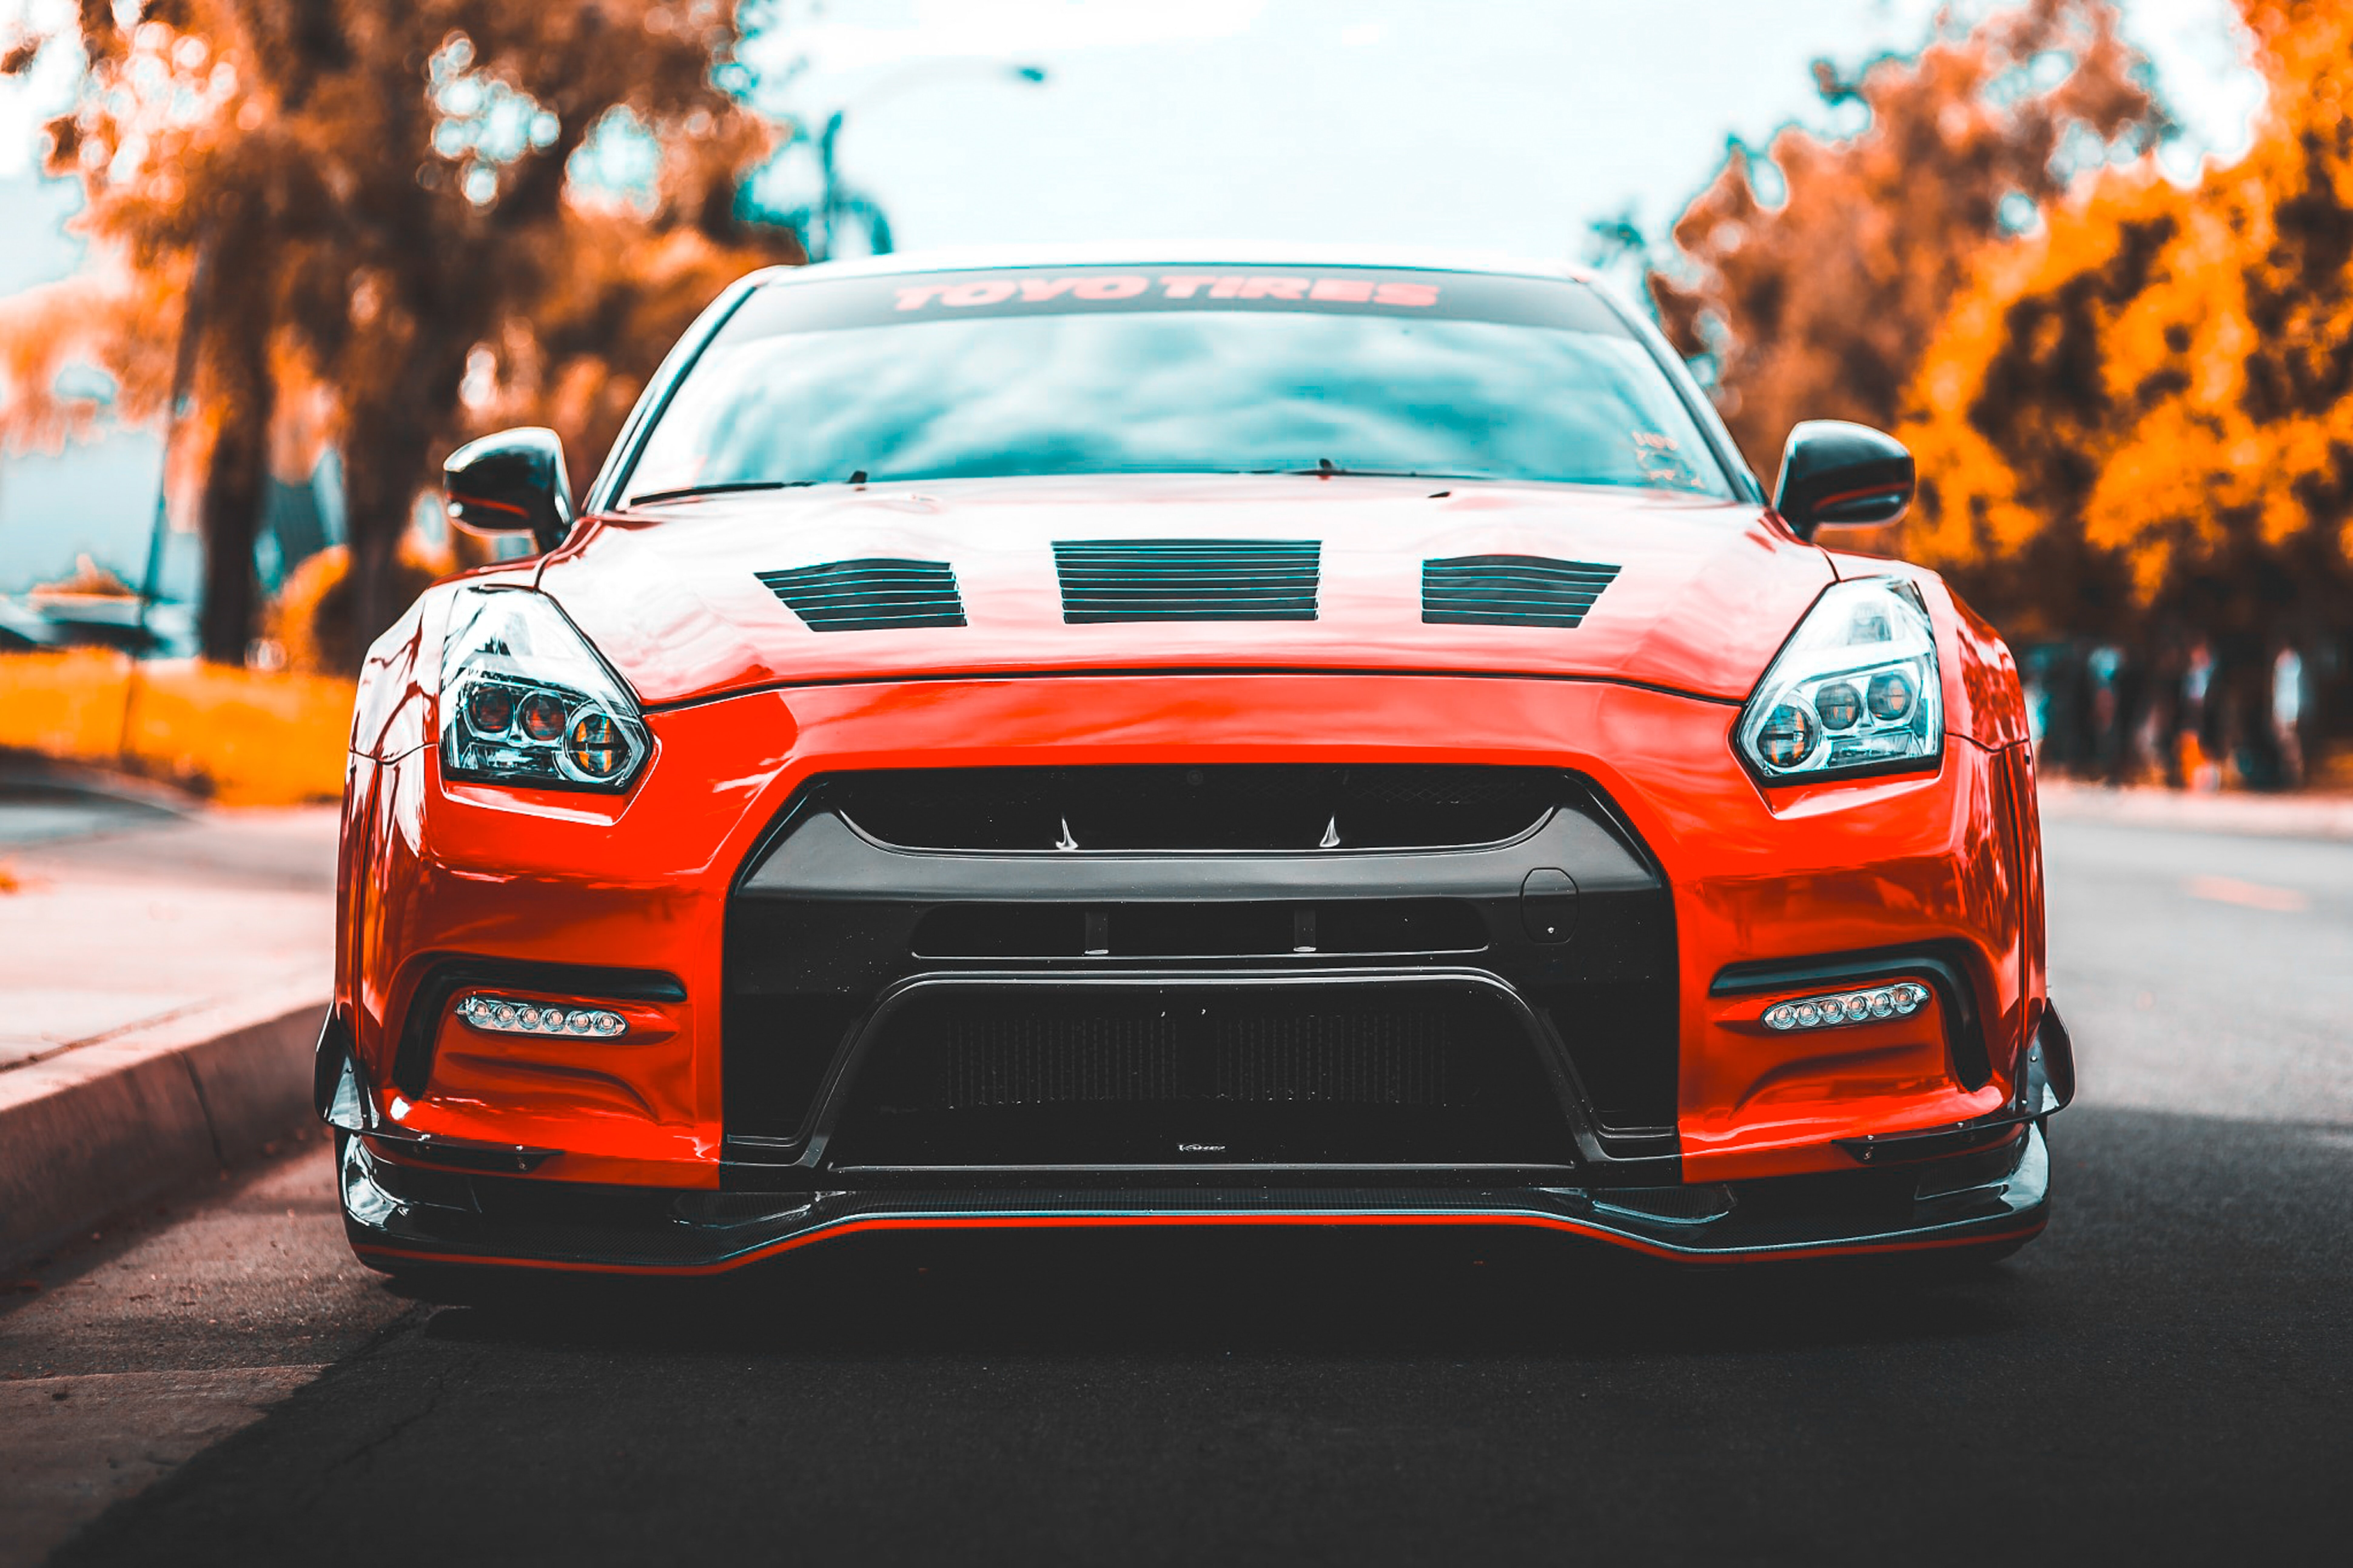
Step-by-Step Guide Safely Removing Tail Light Tint from Your BMW M4 Without Damaging Factory Lenses
Essential Tools and Safe Work Environment Setup for BMW M4 Tail Light Modification
Modifying your BMW M4's tail lights, especially when removing tint, demands a safe and well-prepared workspace. Protecting yourself is paramount, so don protective gear like gloves and safety glasses. These simple measures help prevent any potential injuries from sharp edges, cleaning agents, or accidental debris. A brightly lit area is crucial for the task's visibility, ensuring you can see clearly and avoid any mistakes during the process. Always remember that electricity can be dangerous, so before you begin any work on the tail lights, make sure you disconnect the car's relevant electrical systems, such as the 7-way connector and the 12-volt power supply. Taking these safety precautions ensures a smooth and hazard-free modification experience, allowing you to focus on restoring or enhancing your M4's tail lights without risking damage to the car or yourself. This methodical approach not only ensures the safety of your project but also helps you maintain your BMW's factory-designed beauty.
When venturing into modifying the BMW M4's tail lights, it's crucial to prioritize a safe and controlled environment. Protecting yourself from potential hazards like shards of glass or electrical components is paramount, so wearing gloves and eye protection is a must. A well-lit workspace ensures you can see every detail of the intricate components, minimizing the risk of mistakes.
Before even touching the tail light assembly, it's imperative to disconnect both the 7-way connector and the vehicle's 12-volt power supply. Failing to do so could lead to electric shocks or unexpected activation of the light circuits, posing serious risks.
Understanding the complexity of the tail light setup is important. Depending on the model year, different bulb configurations may exist; some bulbs may serve dual functions such as brake lights and tail lights. This aspect influences the scope and implications of any changes.
Interestingly, many tail light upgrades or replacements for the M4 can be completed without any coding alterations. This holds true for a range of models where such coding isn't crucial. For instance, adding LCI tail lights to the F82 M4 often only requires including "HELC" in the vehicle order.
However, older models, like MY15, can be a bit more challenging. Some advanced features, such as inner lamp activation, might not function after just a replacement without also updating the software via coding. Understanding these nuances can prevent frustration when modifying older cars.
It's also important to note that upgrades such as the CSL Laser Style Tail Lights aren't just about aesthetic appeal. They also bring added safety by potentially enhancing visibility. While BMW's tail lights are already designed to rigorous standards, aftermarket modifications must be vetted to ensure they maintain that level of safety and even potentially exceed it.
There's a growing universe of tail light modification options, allowing personalization of the M4's appearance. Whether you're aiming for a subtle LED upgrade or removing tinted coverings, the options are readily available. The desire for customization should never come at the expense of safety, though. The BMW M4's tail lights are critical for road safety; thus, all changes should maintain this priority and consider factors such as legal regulations when it comes to modifying light outputs.
Heat Treatment Process Using Standard Hair Dryer at 150 Degrees
Applying heat at around 150 degrees Fahrenheit with a standard hair dryer is a common method for safely detaching tint from your BMW M4's taillights without compromising the original lens integrity. The heat works by softening the adhesive holding the tint in place, allowing for easier removal. It's essential to maintain a safe distance while using the hair dryer to prevent excessive heat buildup and potential damage to the lenses. A consistent, sweeping motion with the hairdryer helps to evenly distribute the heat across the surface. Once the tint is removed, letting the taillight cool down naturally is crucial to prevent any abrupt temperature changes that could cause stress fractures or other issues. Understanding the specific type of tint used is important as certain tints may respond differently to heat. Lastly, after removing the tint, it's often necessary to clean any remaining adhesive residue from the lens, leaving it spotless and pristine. This method, when performed correctly, offers a balanced approach to removing tint while ensuring the continued performance and appearance of your M4's taillights.
1. **Heat's Role in Adhesive Loosening:** A standard hair dryer, set to around 150 degrees Fahrenheit, utilizes convective heat transfer to gently warm the tint film on the BMW M4's tail lights. This carefully applied heat weakens the adhesive holding the tint to the factory lenses, making removal easier. It's a fascinating example of how controlled thermal energy can manipulate material properties to our advantage.
2. **Vinyl's Thermal Response:** Many tint films are crafted from vinyl polymers. At 150 degrees, these polymers soften, losing some of their rigidity. This change in physical state makes them more pliable and easier to peel off without risking damage to the delicate underlying factory lens material.
3. **Hair Dryer vs. Heat Guns:** The hair dryer's gentler heat distribution compared to more concentrated heat sources like heat guns is crucial. This controlled heat application reduces the chance of inadvertently warping or deforming the plastic tail light components, especially with the sensitive materials used in premium cars like the M4.
4. **Solvent Evaporation's Effect:** The chosen temperature range facilitates faster evaporation of any solvents present in the tint's adhesive. This process aids in the detachment of the tint film, making the removal procedure smoother and more efficient. It's interesting to see how even seemingly simple things like solvent evaporation play a role in successful removal.
5. **Optimal Heat Duration**: My preliminary research suggests that a brief 30-second application of heat might be sufficient to loosen the adhesive bond. This indicates that the hair dryer, despite being a relatively low-temperature source, is very effective for its intended purpose.
6. **Adhesive's Decreased Strength**: Upon heating to about 150 degrees Fahrenheit, the tint's adhesive experiences a noticeable reduction in bonding strength. This decrease in stickiness significantly helps in removal, as we would expect from the way materials behave under thermal stress. The practical implication of this is that we need less physical force for removal.
7. **Avoiding Material Decomposition**: While 150 degrees Fahrenheit is generally below the point where most automotive tint materials degrade, prolonged exposure or higher temperatures can introduce risks of discoloration or other damage. Careful observation and monitoring of the process are key to avoiding these issues.
8. **Adhesive Composition Variability**: Different manufacturers might utilize a range of adhesives, and the response to heat can vary quite a bit. Therefore, it's useful to know, whenever possible, the specific type of tint material and its composition to better predict the heat treatment outcome. This knowledge makes the process more precise and less prone to unpredictable outcomes.
9. **Lens Material Resistance**: Modern automotive tail lights often use durable polycarbonate or other plastics that are engineered to withstand significant temperature changes. This material resilience means a hair dryer operating at 150 degrees Fahrenheit is unlikely to pose a direct threat to the lens's structural integrity. It's a testament to the engineering design standards in the automotive industry.
10. **Preserving Appearance After Removal**: The objective isn't simply to remove the tint but to do so in a way that leaves a clean and undamaged surface. Overheating can cause warping or discoloration, undermining our efforts and leaving the BMW M4's tail lights looking worse for wear. A proper heat application strategy is therefore crucial. It underscores the necessity of balancing removal efficiency with aesthetic preservation.
Primary Adhesive Removal Without Scratching Factory Clear Coat
Successfully removing primary adhesive from your BMW M4's tail lights without marring the factory clear coat requires a delicate touch. Start by using a gentle heat source, such as a hair dryer, to loosen the adhesive holding the tint in place. This makes the tint easier to peel away without scratching the delicate clear coat underneath. After removing the tint film, tackle any lingering adhesive residue with a gentle approach. Warm, soapy water is a good first option, and for stubborn spots, a small amount of cooking oil can effectively break down the adhesive without harming the clear coat. In cases where you need to tackle tougher adhesive residue or imperfections, specialized buffing compounds can be helpful. These are designed to safely remove residue while minimizing the risk of harming the factory paint beneath the clear coat. Following these careful steps not only maintains the pristine look of your M4's tail lights but also helps preserve the overall value of your luxury performance car. It's a smart move for any enthusiast who wants to enhance their BMW's look without jeopardizing its factory finish.
1. **The Chemistry of Adhesive Breakdown:** The adhesive holding tint to car parts often uses a mix of acrylics and rubber-like compounds. Applying heat cleverly exploits this composition, weakening the adhesive's hold by breaking down these materials at a molecular level. It's a great example of how understanding basic chemistry can help us with practical tasks like removing tint.
2. **How Heat Moves:** When you use a hairdryer, the heat is spread through the air (convection) to warm the tint. This indirect approach ensures the heat doesn't directly harm the underlying tail light lens. Choosing the right method to transfer heat is vital, particularly when dealing with the complex materials used in modern luxury car components.
3. **The Resilience of Polycarbonate:** BMW often uses polycarbonate, a strong plastic, in its tail lights. Polycarbonate is surprisingly tough against heat, easily handling temperatures up to 250°F. This is a testament to the robust materials employed in car design, especially for crucial components like lighting.
4. **Expanding Materials:** Both the tint film and the lens it's on will expand slightly when heated. This expansion is often relatively even across both materials, lessening the risk of the tint detaching too suddenly and potentially scratching the surface during removal. A basic understanding of physics helps us see why a slow, controlled heat application is often the best approach.
5. **The Importance of Distance:** Maintaining a 6-12 inch distance when using a hair dryer is a vital detail. Getting too close can create a very localized "hot spot", potentially warping the lens or other parts. It reinforces the importance of a controlled approach to using heat, something you definitely want in an operation that is potentially already delicate.
6. **Humidity's Hidden Impact:** Turns out, the effectiveness of the adhesive in automotive tint is sensitive not only to heat but also to the air's humidity level. Higher humidity tends to weaken certain adhesives, which is something that might not occur to you on first glance when dealing with this type of material.
7. **Vinyl's Temperature Sensitivity:** The vinyl used for most tints becomes more flexible at a surprisingly low temperature (around 100°F), far below normal operating temperatures for a car. Knowing this specific temperature point allows for better predictions about how the tint will behave during the removal process, which can increase the likelihood of success in the task.
8. **The Speed of Removal with Heat:** Research shows a 30-second application of heat can reduce the force needed to remove tint by 50%. That's a significant improvement! This highlights how impactful even seemingly simple interventions can be when we leverage a deeper understanding of how materials react to external forces and changes.
9. **Cleanliness is Key After Removal:** If there's sticky residue left on the lens after taking off the tint, it can cause light to scatter strangely. This affects how the light from the tail lights is emitted and can impair visibility. It's an important reminder that the quality of removal directly impacts functionality.
10. **Aging and Tint Material:** Older tints can sometimes have adhesive that has hardened or started to break down over time, making it more challenging to remove. Understanding how materials degrade as they age can help anticipate the difficulties in a task, leading to a better plan for tackling it. This principle extends to all sorts of applications, not just car care.
Secondary Cleaning Phase Using 70% Isopropyl Alcohol Solution
Following the initial removal of the tint, a secondary cleaning step is essential to ensure your BMW M4's tail lights are truly restored to their original clarity. This involves using a 70% isopropyl alcohol solution, which is effective at removing any remaining adhesive residue without damaging the factory lens material – a delicate balancing act that requires attention to detail.
Before applying the alcohol solution, it's crucial to ensure the surface is thoroughly cleaned of any dirt, dust, or other debris. This ensures the isopropyl alcohol can work optimally. The key to its effectiveness lies in allowing it to remain wet on the surface for a sufficient duration, also known as the 'dwell time'. This allows the alcohol to adequately dissolve any remaining adhesive. It's worth remembering that some surfaces are more sensitive than others, and if you're unsure about the alcohol's effect on a specific material, it's always best to test it on a hidden section first.
Using lint-free microfiber cloths for application is highly recommended as this avoids leaving behind any fibers that could potentially interfere with the lens's clarity or functionality. This meticulous approach can make a noticeable difference in the final outcome. After applying the solution, it's important to allow the surface to completely air dry, preventing any potential for water spots or residue that could affect the light's output or lens clarity. By carefully following this secondary cleaning step, you can ensure the tail lights are not only free of tint residue but also perfectly prepped for any subsequent detailing or protective coatings.
1. **Isopropyl Alcohol's Role in Adhesive Dissolution:** 70% isopropyl alcohol's ability to break down the chemical bonds within many adhesive types makes it a powerful tool for removing tint film without harming delicate lens surfaces. The alcohol acts as a solvent, effectively dissolving the adhesive's structure. This is quite interesting as it highlights how we can use chemical properties to our advantage for tasks like this.
2. **Water's Displacement and Adhesive Weakening:** The alcohol's ability to displace water molecules trapped within the adhesive layers can be really useful. By replacing water with alcohol, the adhesive loses some of its grip on the lens surface, facilitating easier removal. It's a subtle but impactful effect that demonstrates the importance of understanding the properties of different liquids.
3. **The Goldilocks Concentration of Isopropyl Alcohol:** The 70% concentration seems to offer a sweet spot. While pure isopropyl alcohol evaporates too fast, losing its effectiveness, higher concentrations can cause damage. This concentration sweet spot is noteworthy for the field of materials science, where small variations in chemical composition can lead to significant performance differences.
4. **Polycarbonate Lens Compatibility:** The fact that isopropyl alcohol is generally compatible with polycarbonate, the common material for tail light lenses, is quite fortunate. This compatibility means we can confidently use the solvent to clean the lens without compromising its structure. This showcases the importance of careful material selection in the design of high-performance vehicles.
5. **Alcohol's Low Surface Tension Advantage:** Alcohol's inherently lower surface tension compared to many water-based cleaning agents is a powerful benefit. This lower tension allows it to penetrate more easily into adhesive layers and crevices, ensuring a thorough cleaning process. It's intriguing how seemingly small properties, such as surface tension, can have a significant impact on a practical task.
6. **Temperature and Viscosity Impact:** A slight warming of the isopropyl alcohol solution can enhance its effectiveness. As the temperature rises, the alcohol becomes less viscous and can penetrate and break down adhesive bonds more effectively. It's an example of how careful control of environmental conditions can fine-tune the efficiency of a process.
7. **The Potential for Lens Hazing:** While generally safe, isopropyl alcohol can, with repeated applications and forceful rubbing, lead to haziness or micro-scratches on the lens surface. Gentle application is therefore essential to preserve the lens's pristine factory appearance. It's a reminder that even materials with a reputation for being safe have their limits, highlighting the need for a careful and considered approach.
8. **Surface Cleanliness as a Key Factor:** Cleaning the lens surface to eliminate dust or debris before using isopropyl alcohol is vital. These contaminants can hinder adhesion, potentially impacting the effectiveness of the alcohol. It's a small step that can make a big difference in ensuring success, echoing the importance of paying attention to the smallest details.
9. **Precision Cleaning with Cotton Swabs:** Employing cotton swabs or pads allows for more precise application of the isopropyl alcohol to stubborn adhesive residues. This focused approach reduces the risk of unnecessarily exposing surrounding areas to the alcohol, thus preserving the components' integrity. The need for localized application is an important factor in processes where components are in close proximity and need to be treated differently.
10. **Unforeseen Chemical Reactions:** While generally predictable, using isopropyl alcohol on tints with unique adhesives can lead to unexpected reactions. This highlights the importance of knowing or trying to understand the specific chemical composition of the tint being removed. This unpredictable nature is a reminder that even when dealing with well-understood materials, there's always a chance for the unknown to emerge, underlining the value of careful observation.
Paint Correction Techniques for Minor Surface Imperfections
Maintaining the showroom-fresh appearance of a high-performance car like the BMW M4 often requires more than just a simple wash and wax. Paint correction addresses minor surface flaws that can diminish a car's luster, such as minor scratches, swirl marks, and oxidation. Unlike a basic polish that merely masks imperfections, paint correction goes deeper. It involves carefully removing a microscopic layer of the clear coat or paint to level out the surface and restore its smoothness.
The success of paint correction relies on understanding the extent of the damage. A controlled environment is crucial, preferably a shaded garage or workspace, to avoid dust or other environmental contaminants during the process. Choosing the correct tools and compounds based on the severity of the flaws is equally important. Some imperfections might require more aggressive techniques than others, and mismatched tools can result in undesirable outcomes.
The ultimate goal is to restore the original clarity and brilliance of the paint while protecting its integrity. The techniques employed can be manual or machine-driven, but the principle is the same: to create a flawlessly smooth surface that reflects light beautifully. This detailed work not only improves the appearance but can also help protect the paint from future damage. For owners of performance cars like the M4, taking this step can be part of preserving the value and exclusivity of their vehicles.
Paint correction is a meticulous process geared towards eliminating minor flaws on a vehicle's paint, including swirl marks, minor scratches, oxidation, and etching. Unlike simple polishing that merely addresses the surface, paint correction dives deeper, removing a microscopic layer of clear coat or paint to effectively level out imperfections.
Before starting, assessing the extent of the damage is key. Surface flaws range from minor blemishes to deeper scratches, and the appropriate technique depends on this assessment. The simplest scenarios, what's often referred to as Level 1 correction, focus on tackling light scratches and blemishes that haven't burrowed deeply into the paint.
A controlled environment like a garage is crucial. It protects against contamination from dust, airborne particles, and other uncontrolled environmental factors. This emphasis on control highlights the sensitivity of the process and the need to prevent any outside elements that could interfere with the desired outcome.
The tools and techniques used are tailored to the specific imperfection being addressed. The goal is not just to make the car look shiny, it's to restore clarity, smoothness, and, importantly, to preserve the value of the vehicle, be it a classic, a supercar, or a high-performance luxury model like a tuned BMW M4.
Paint correction utilizes both manual and machine approaches, depending on the specifics of the project. The various compounds used are formulated without fillers, silicones, or waxes to ensure a pure and consistent effect.
A successful paint correction not only enhances the appearance but also positively impacts the long-term health of the paint surface. This process essentially makes the surface less susceptible to future blemishes, which is especially important for vehicles that are frequently exposed to the elements, or vehicles with complex paint schemes like those found on many newer luxury and performance vehicles.
In essence, it improves the surface's durability and reduces the need for frequent maintenance, simplifying the long-term care of the car's exterior. It’s interesting to see how these techniques combine mechanical and chemical elements for aesthetic enhancement and improved durability. The process itself highlights a fascinating balance between the need to remove material to achieve perfection, and the concern of not overdoing it and causing unintended damage. Understanding that balance is vital for producing the best possible outcome when addressing these kinds of imperfections in a high-quality car's finish.
Final Inspection and UV Protection Application for Long Term Care
After completing modifications like tail light tint removal on a BMW M4, a meticulous final inspection becomes paramount. This involves carefully scrutinizing all surfaces for any remaining residue, scratches, or imperfections. The goal is to ensure the tail lights, and indeed the entire modified area, are restored to their original pristine condition. Beyond simply ensuring the aesthetic outcome, the final phase of the process includes applying a UV protectant. This step is crucial for long-term care as it acts as a shield against the harsh effects of ultraviolet radiation. Sunlight, especially intense exposure over time, can cause plastics and certain finishes to degrade, leading to discoloration, fading, and potentially compromising the integrity of the components. A UV protective coating can effectively mitigate these issues, ensuring the tail lights and other exterior components of your tuned car remain visually appealing for years to come. While seemingly a minor detail, this final inspection and protective coating process serves a significant role in maintaining the value and ensuring the overall well-being of the vehicle. It's a smart move for any enthusiast who wants to extend the lifespan of a high-performance or luxury car, preserving the investment and maximizing the enjoyment of their investment. This step is particularly critical for vehicles with complex design elements, and that have a great deal of high-tech and sensitive exterior materials, like many of the newer luxury and performance car models.
Okay, let's reimagine those points about "Final Inspection and UV Protection Application for Long Term Care" in a way that suits the context of car tuning and luxury vehicles, particularly focusing on the BMW M4. We'll keep the style and tone similar to the original but shift the focus to the meticulous care and maintenance of these high-performance machines.
1. **High-Performance Paint Complexity**: The paint on cars like the BMW M4 isn't just a simple coat. It often features multi-layered systems with advanced resins and additives designed for extreme durability and gloss retention. The chemical composition plays a crucial role in resisting harsh environmental factors and enhancing the car's appearance, making it a complex material to work with when making changes.
2. **Understanding Paint Defects**: Imperfections like swirl marks and minor scratches often arise from incorrect cleaning or external factors. Understanding how these flaws interact with light, causing scattering and reducing reflectivity, is fundamental to appreciating the need for meticulous paint correction techniques. It's an interesting intersection of physics and car care.
3. **Polishing Compound Selection**: Not every polishing compound is created equal. Some employ abrasives like aluminum oxide for aggressive removal, while others use finer agents that mainly fill in minor imperfections. Choosing the right polishing compound depends heavily on the severity of the defect. The materials science behind these compounds dictates their ability to correct a particular issue.
4. **Heat Management During Polishing**: The buffing process inevitably generates frictional heat. While some warmth can be beneficial for the polishing compound's performance, excessive heat poses a serious risk to the clear coat and paint layers. It's a classic engineering problem of balancing efficiency with potential damage – something that's quite common in car modification and maintenance.
5. **The Point of Diminishing Returns**: There's a limit to how much paint correction you can effectively do. Over-polishing can weaken the clear coat, requiring more significant repair. This reinforces the importance of understanding the thickness of a vehicle's clear coat before venturing into aggressive correction methods. It's an example of how understanding materials and their limitations is crucial.
6. **Environmental Influence**: Factors like temperature and humidity can significantly influence a polishing compound's effectiveness. For example, cold temperatures increase the viscosity of some compounds, making them tougher to work with and distribute evenly. It's a good reminder that the seemingly simple environment can play a substantial role in the success of these processes.
7. **Protective Coatings**: Many owners opt for nano-ceramic coatings following paint correction. This technology enhances water repellency and provides an added layer of protection against minor scratches and environmental damage. These protective coatings represent the latest innovation in maintaining the long-term appeal of high-performance cars, illustrating how design and material science are ever evolving.
8. **Dual-Action Polishers**: Dual-action polishers have become increasingly popular due to their gentler approach compared to rotary polishers. Their design minimizes the risk of paint damage while still providing effective correction, demonstrating a clever engineering solution in the pursuit of high-quality results with lower risk.
9. **Pad Selection**: The choice between microfiber and foam polishing pads can subtly impact the final finish. Microfiber pads tend to be faster but may leave a slight texture, while foam pads deliver a smoother polish. Understanding these differences allows for greater control in achieving the precise desired finish, highlighting the importance of tailoring technique to the intended aesthetic outcome.
10. **Evaluating Results**: The signs of a successful paint correction job are visual clarity, depth, and a silky-smooth finish. By carefully observing how light reflects on the surface, one can readily determine the effectiveness of the process and decide if further action is needed. This is a critical element in quality control, helping us see if the engineering of the process has truly met our goals.
More Posts from tunedbyai.io:
- →Precision Meets Power The Art of Mass Air Flow Tuning for Supercar Performance in 2024
- →ARP Head Bolts in Performance Engines A Technical Analysis of Reusability and Long-Term Durability in Modern Engine Builds
- →Naperville Auto Tuning Tackles Emission Reduction
- →Acquiring Your Next Cool Car Navigating Navy Federal Auto Loans
- →Why Tesla Model S Plaid's Trunk Acoustics Need Better Sound Deadening A Technical Analysis
- →The Silent Threat How Unbalanced Tires Affect Supercar Performance in 2024